.NET Standard 2.1 compatibility is recommended.
1. Download the SDK DLL
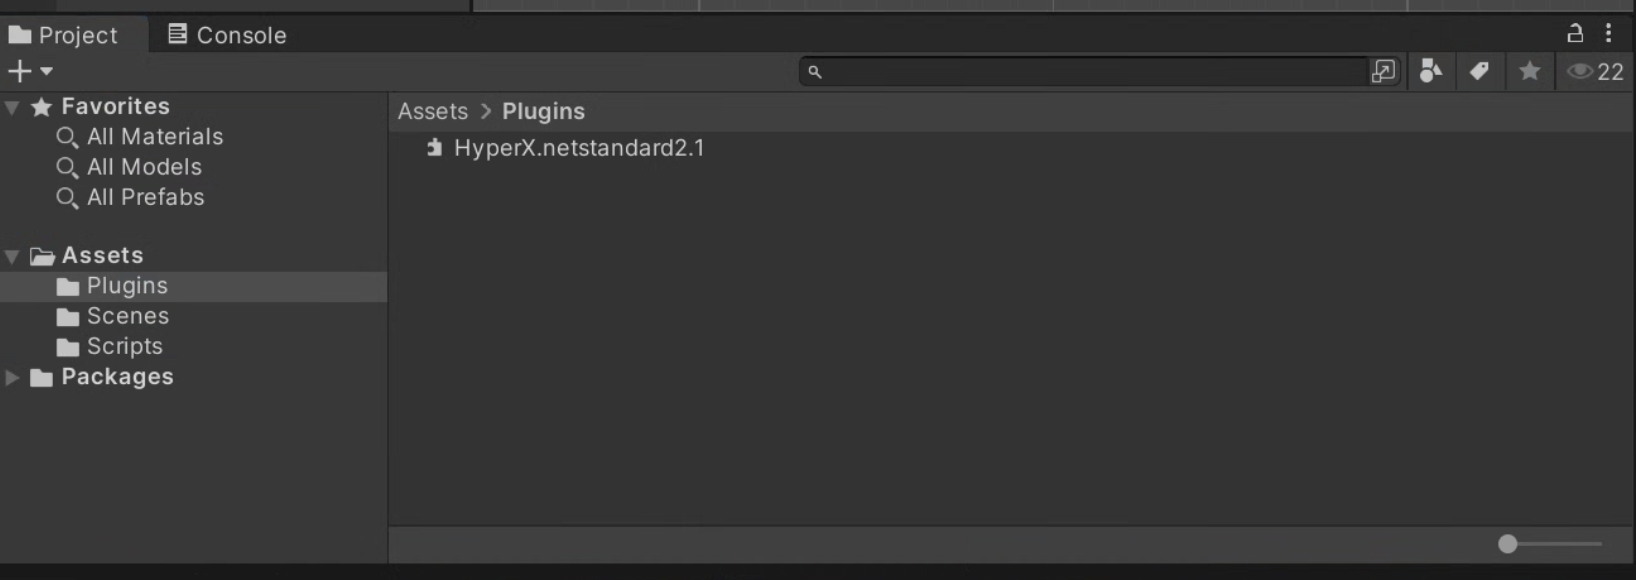
Download HyperX.netstandard2.1.dll.2. Add It to Unity
Place the DLL underAssets/Plugins.
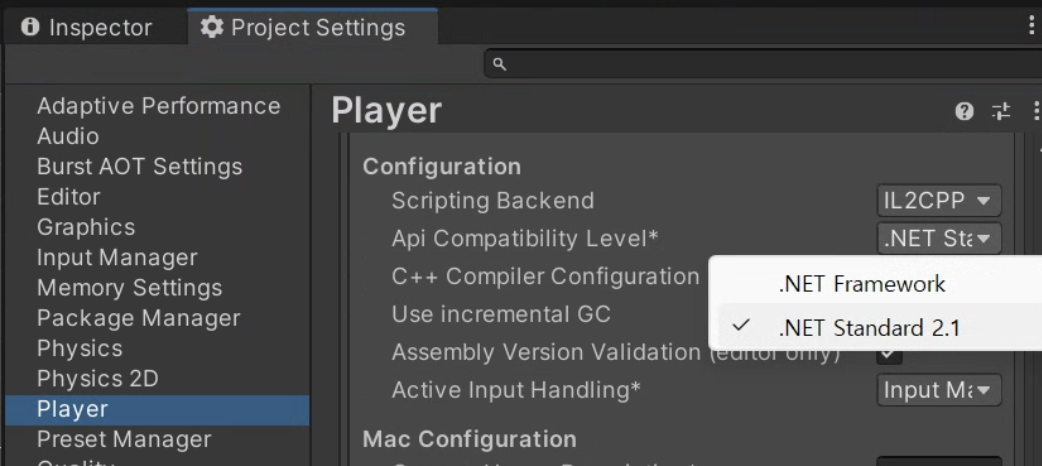
Player Settings, set Api Compatibility Level to .NET Standard 2.1 or later.
3. Copy the Project Code
Open the project in Console and copy its project code from the URL or project settings.
4. Initialize and Create a Guest User
Attach this script to an empty GameObject and replacePROJECT_CODE.
Users page.
StartGuestSession returns a player session that carries the access token. After that, authenticated calls such as user data, ranking, coupons, notifications, and chat can use player.PutUserDataJson(...), player.SubmitRankingJson(...), and player.Notifications(...) without passing session.AccessToken through every call.
Next Steps
User Lifecycle
Add guest, custom, social login, and session refresh.
Data Management
Choose shared data, user data, or character data.
Public Storage
Check file hashes and download only changed CDN files.
Social Features
Add friends, mail, messages, guilds, and notifications.